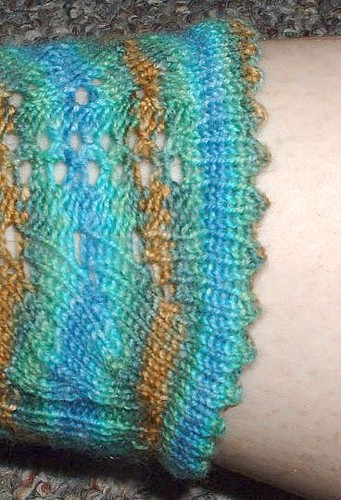
I love the look of picot hems, but I've always knit my socks toe up, and I didn't know there was a way to do it that way until I stumbled upon the fiber fool's entry about that exact thing her swatch # 4 was perfect, so I decided to give it a try. Unfortunately even though she does tell how it is done. I still managed to mess up quite a few times before getting it right. And since I couldn’t find any good tutorials on this particular method, I decided to make my own in case other people would like to do it this way as well.
Enjoy!
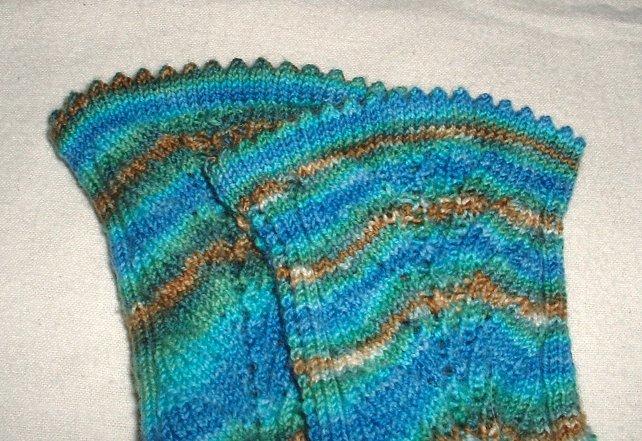
After you finished knitting the main art of your sock it’s time to make the hem.
Begin by knitting 7 plain rounds, then *yo, k2tog* around, then 6 more plain rounds.
You can make the hem as deep as you like, but you always want the section above the yo round to be one less then the section below.
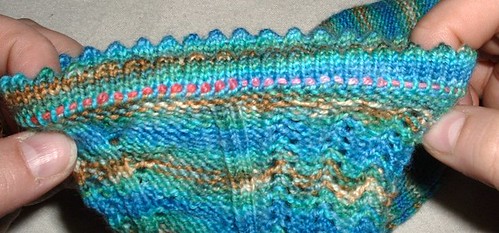
Once you have knit the picot hem. Place all the stitches on a piece of waste yarn, this will make it easier to sew and to see what you are doing.
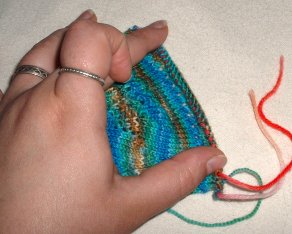
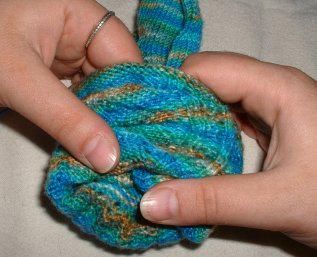
Turn your sock inside out. fold down the hem so that you are pleased with the way your picots look, make a note of where the edge lands, this is the purl row you will be sewing into.
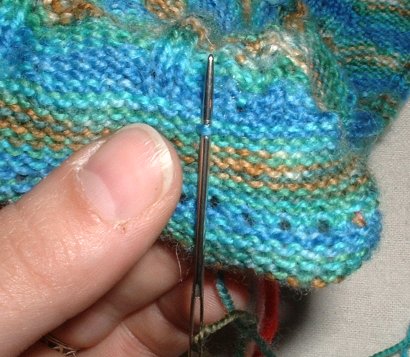
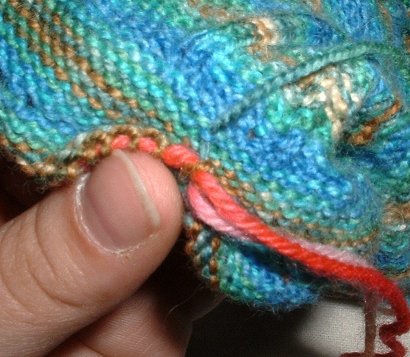
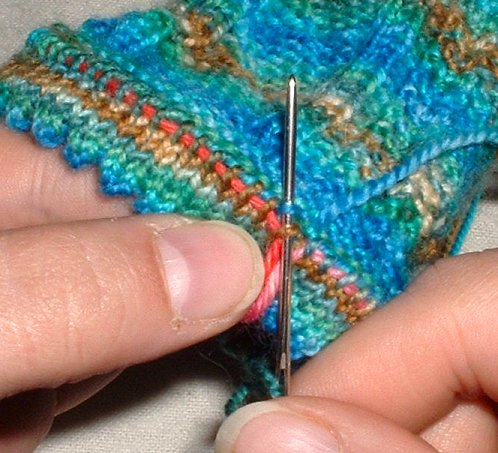
Using your yarn tail, which you cut to 2 – 3 times the circumference of your sock, sew purl-wise through the first live stitch.

Then sew through the purl bump on the previously noted row that falls below your first stitch.
You will be sewing from the top downwards.
Pull the yarn snug, but not too tight
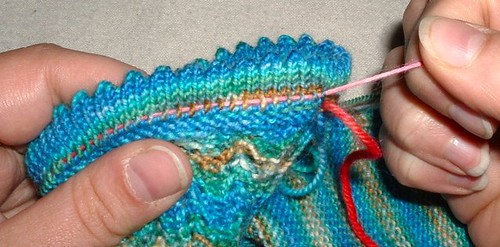
Continue in this manner: purl wise through the next stitch, then top to bottom through the next purl bump.
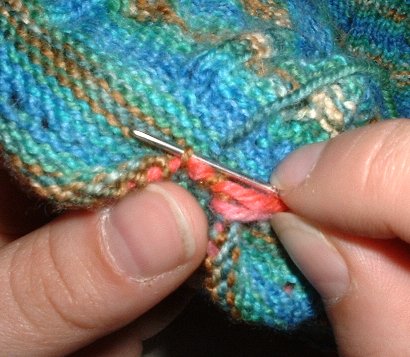
After a few stitches, I find it faster to sew through both the stitch and the bump at the same time.
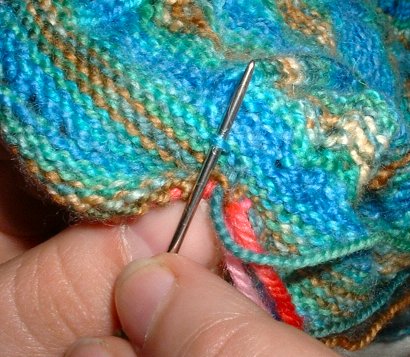
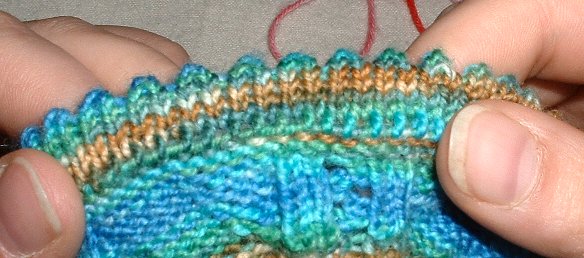
After you have finished sewing the entire hem. Sew once more through the first stitch and it's corresponding purl bump to finish off.
To make sure that your hem will be stretchy enough to get on, give it a good stretch before weaving in the ends.
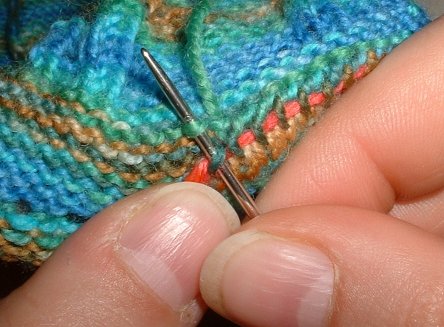
Remove the waste yarn, by simply pulling on one end, it should slide freely out of your hem.
and admire your spiffy sewing job.
and there you go. If you have any questions or comments feel free to ask.
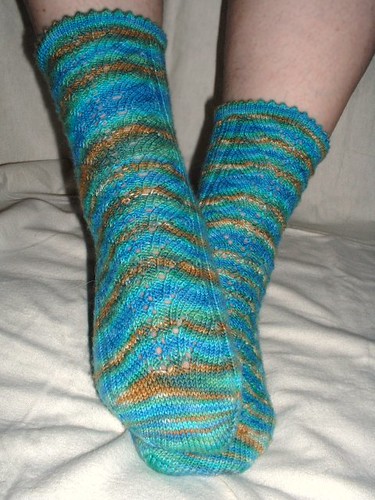
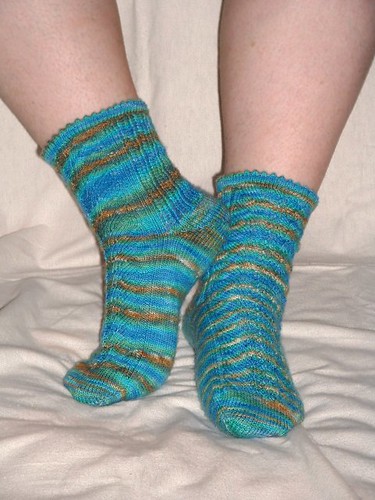
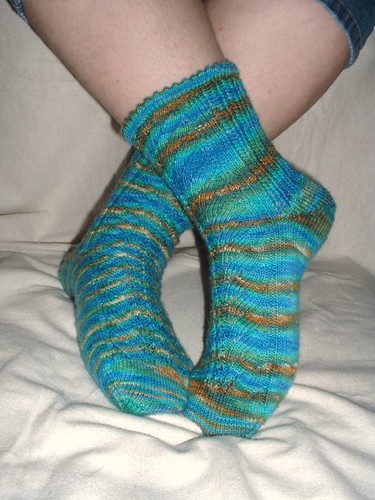
Tomorrow there will be more details on pattern, yarn, and pictures of these new socks actually on my feet. But Bill isn't home today, and no matter how I try all my modeled pictures look really crappy.


 Fluffy Knitting Bloggers